Wednesday, July 30, 2014

Julie Nutting Merry Nice, a Christmas ornament tutorial!

Hey everybody I was just looking at the new release of dolls by Julie Nutting from Prima I could not believe it when I got Halloween and Christmas in the middle of summer.  Well it's time to play I say!
You know I always go to an ornament party in Christmas that my BFF Tere hosts, we have a blast and of course we swap ornaments, I always bring a handmade one and this doll has the best scale to do just that!
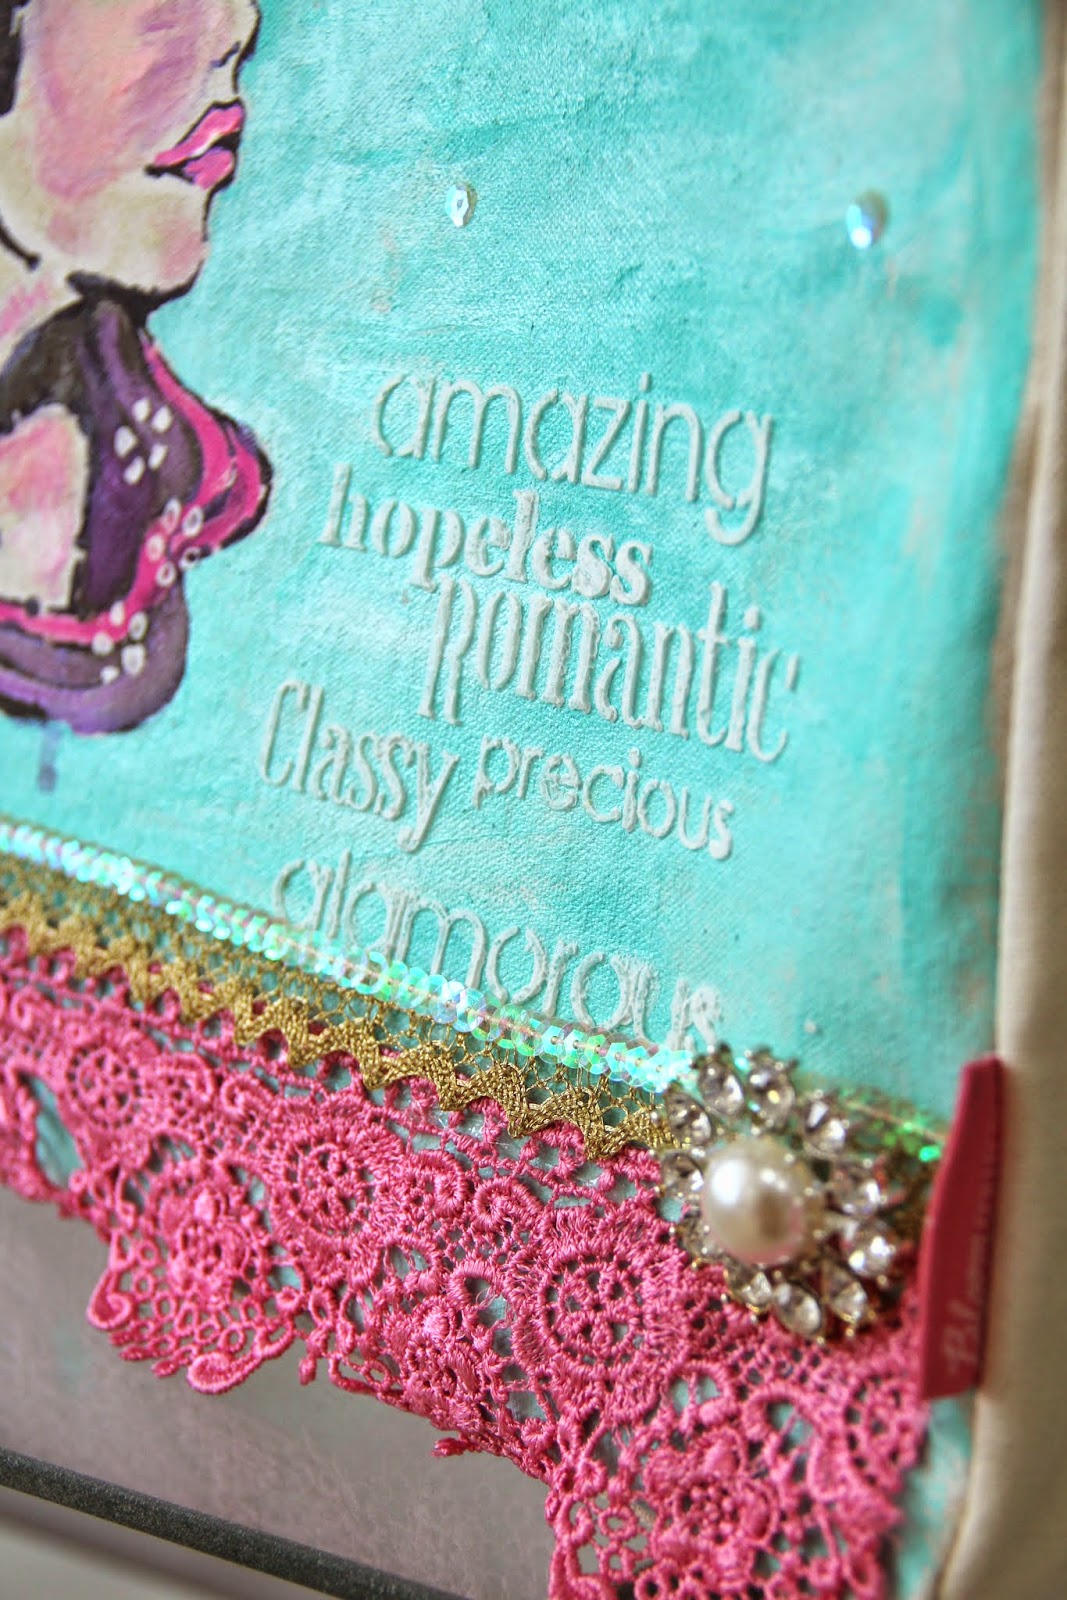
I am using Merry Nice, don't you just love the name?
How about some pictures!
and a closie, I used the holy stamp as a poinsettia to frame my doll!

so let's begin by gathering your supplies
you are going to need:

Prima's trim in gold, of course Miss Merry Nice, I used Hazel And Ruby Ephemera Collage tissue for my background, Graphic Line Painter in "herring" and "snow", multi medium matte, "star dust"stickles to make her fur trims shine ♥ and a Letraset Metallic Marker in gold and you ornament!

I noticed my doll got lost on the right side of the tissue so I flipped it and stamped the back

much better now she will show nicely and be easy to paint!

after you stamp her make a pattern and cut all your sides

of course you need a pretty package to give her away right?
So I used a Kraft cupcake box to alter


and you need a tag...

once you cover all 5 sides you are ready to embellish some more , for this I used 
Prima Jubilee flowers #571955
Prima Poinsettias #571740

See how pretty she looks peeking out!
I hope you enjoyed this!!!!


Milagros

Friday, July 18, 2014

Jamie Dougherty Gardenia Bloom Stencil Tutorial Part 2

News flash: the project won the Mou Saha challenge over at Faber Castell!!!!!

Hi everyone! I've been busy creating and I will be sharing today what to do with those glorious flowers on the stencil! Last Summer I shared with you a tutorial on different techniques using gelatos that can help you today, we will revisit some and try some new ones as well.  I am taking Mou Saha's challenge on the Design Memory craft blog!  For me it was using chalkboard paint on fabric and then being able to paint in it with my Pitt Pastels in it! So here we go!
Please open the photos so you can be able to read all the steps!  For this Project I used the muslins bags from SRM Press! And I tried to photograph my pitt pastels, gelatos, big brushes and watercolor pencils so you can see the colors I used!


Stamped jewelry tutorial

I know we are far form the 12th already but my BFF was celebrating in New York so I had to wait until today to give her present.  Some details!
a small canvas circle, perfect to fit this cute fashionista!

after inking

fit for its bezel

ready to paint!


and of course it needed to be sealed so she can wash her hands if she has to!

I hope you enjoyed this jewelry making session as much as she did wearing hers!
♥ u girl!

Milagros


Jamie Dougherty Gardenia Bloom Stencil Tutorial

Hi! it's a gloomy Friday, after the gorgeous sun we had last Friday today has been so overcast I am happy to be indoors, creating... 
I don't know if you have had a chance to play with Dina Wakley's heavy body paints? You haven't you say?
Go get some, they have the most wonderful colors in it's palette, they are happy, sunny and
" Caribbean flaired",  kinda like me!
Well I was so thrilled to get the new Prima in yesterday that you know by the day end yesterday I had finish 2 watercolors (in the new pad and tag pad...) and was waiting in line to work the canvas.
You know there is a certain 10 year old who takes precedence over her mama...
So I had to wait 'till today to use my new Gardenia stencil
Here's the finished bag
some closies

I loved this girl

so here's a quickie tutorial for you
NĂºmero Uno-PRIME your surface, after all it's canvas, go ahead and feel like an artist
the reason behind this is your paint will flow easier once the stencil is on!

After you finished your gesso you should have your perfect blank canvas ready to work
While this dried I decided to put it on my lap and handstitch my flowers on the handle
helped with my patience, you know I had already waited a whole day...

put your stencil on and using a stiffed bristle brush fill it with paint following the lines, you can also use a sponge and pound it in if it makes you happier, I find the paint brush method works fine.
sorry I couldn't take a photo of me with the brush, afraid for my camera

I hope you don't blame for not showing you a black and white paint I was so into painting I forgot I was doing a tutorial, LOL

Work your background and after it dries use a stencil to add your fave wording.

you can not see it clearly but there's some tummy glass bead glitter gel on it!
then you can use your fave embellies to decorate
you can blame the gloomy pics on my overcast day, hard as I tried I can not bring by the sun!
like gold trim, sequins and a brooch!
I am ready to go into town now, hope you have enjoyed this as much as I did creating it!

Milagros